Hi Everyone! Jess D here. We were so thrilled that House Beautiful featured my Millburn house's kitchen in its June 2017 issue and thought it would be a good idea to revisit the kitchen floor stenciling process before we dive into the painting of my new kitchen floor.
It's hard to believe this is what our kitchen looked like before we purchased our home.
After some demo, new cabinets, french doors, paint, fixtures, and of course Nest Studio Hardware, we replaced and primed the plywood subfloor.
Here is the first coat of glaze I used to darken the floor and give it more dimension.
And this was the idea for the final concept.
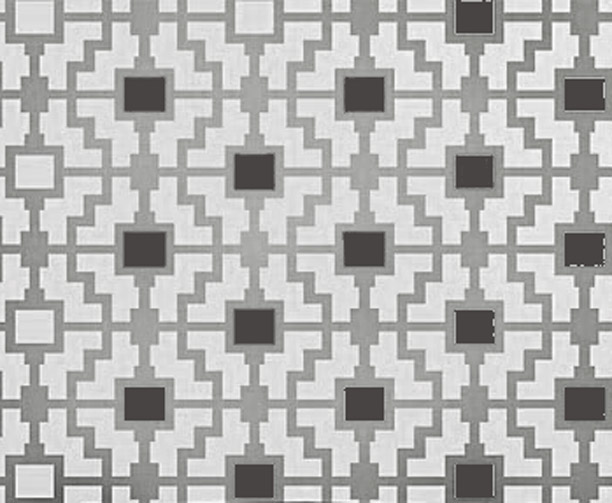
I received my
Shipibo Allover Stencil from
Cutting Edge Stencils and flattened it out to prepare for the stenciling process.
I started at the top end toward the middle of the kitchen and then worked my way out using a dry firm foam roller applying very little pressure as per the instructions.
 Because I wasn't worried about an even coat - I wanted a patina'd look - the first few rows went fairly quickly.


This is a wonderful post. I enjoyed the information lot. I will bookmark this page. Thanks for sharing this information.
ReplyDeleteabcya |abcya 7 | brainpop
https://saglamproxy.com
ReplyDeletemetin2 proxy
proxy satın al
knight online proxy
mobil proxy satın al
PEN